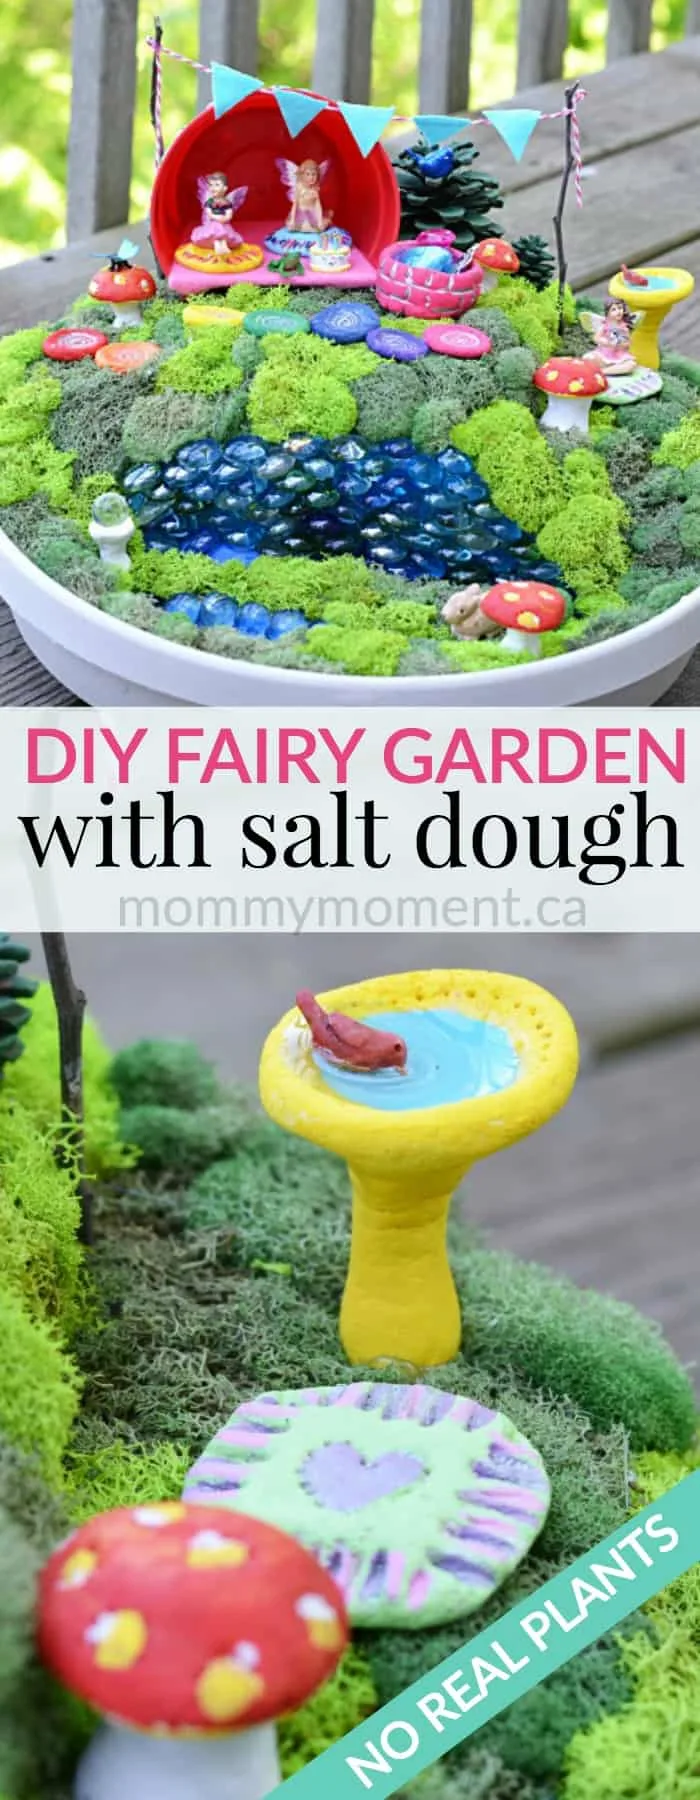
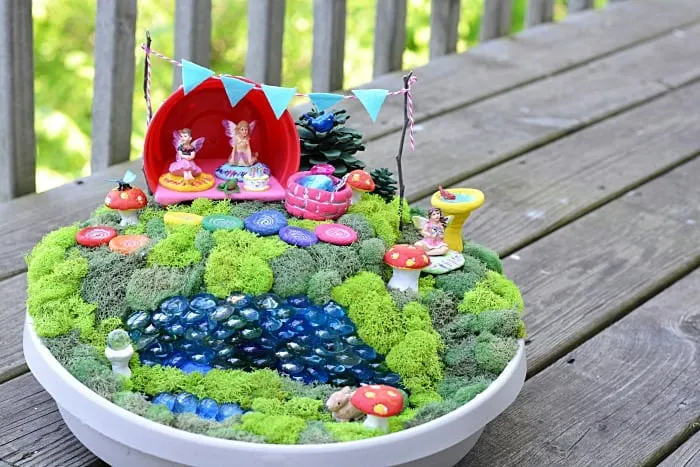
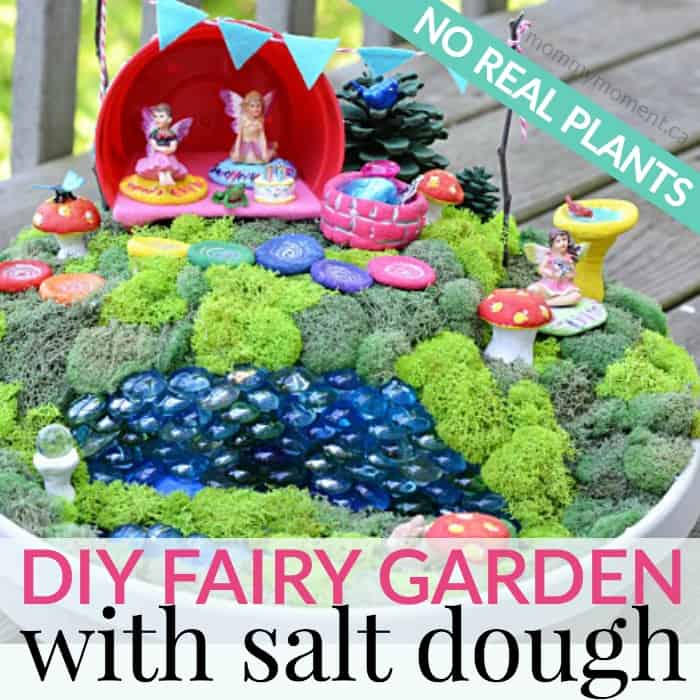
Fairy Gardens are a new fad going on right now, so why not make a Salt Dough Fairy Garden with fairy garden accessories.
Fairy Gardens are adorable little gardens that children and adults alike love to put together and look at. This is a new take on a Fairy Garden using spray foam and salt dough fairy garden accessories.
No plants needed for this adorable garden.

SALT DOUGH FAIRY GARDEN ACCESSORIES
This page may contain affiliate links for your shopping convenience. The links help support the blog as we may earn a small commission at no extra cost to you, our readers.
SUPPLIES NEEDED
- 1/2 cup salt
- 1 cup flour
- 1/2 cup warm water
- Baking sheet
- Fork
- Spatula
- Toothpick
- Cutting Board
- Knife
- Small Cookie Cutters
The drying time will 100% depend on how thick you make your pieces. I’ll add some tips as I mention the pieces below.
HOW TO MAKE FAIRY GARDEN ACCESSORIES:
FAIRY PILLOWS
Create a square with salt dough. Round the edges by shaping with your fingers. Place on a flat surface and use the tines of a fork to create a fringe-like look around the edges. Use a toothpick to draw a heart or shape in the center. Set aside to dry.
MUSHROOMS
These are made in two pieces. Shape dough into a ball and flatten. Push center in to create a mushroom top shape. Use a toothpick to poke circle outlines in the mushroom if desired. Set aside to dry.
To shape the stem, create a ball and then form into a cylinder. Press the ends flat on a cookie sheet as you shape. Continue to check on this as they easily become rounded. The flatter the better, at least on one end. Set aside to dry.
STEPPING STONES
Shape dough into small balls, then flatten. Just use your fingers to flatten. Set aside to dry.
BIRD BATH
Create a bowl shape similar to your mushroom, but make sure it’s flat on the bottom. This is your birdbath bowl. Create a bowl stand just as you did the mushroom stem, making it a little bigger. Again, I laid this down to dry and one side was flat, but it looks great!
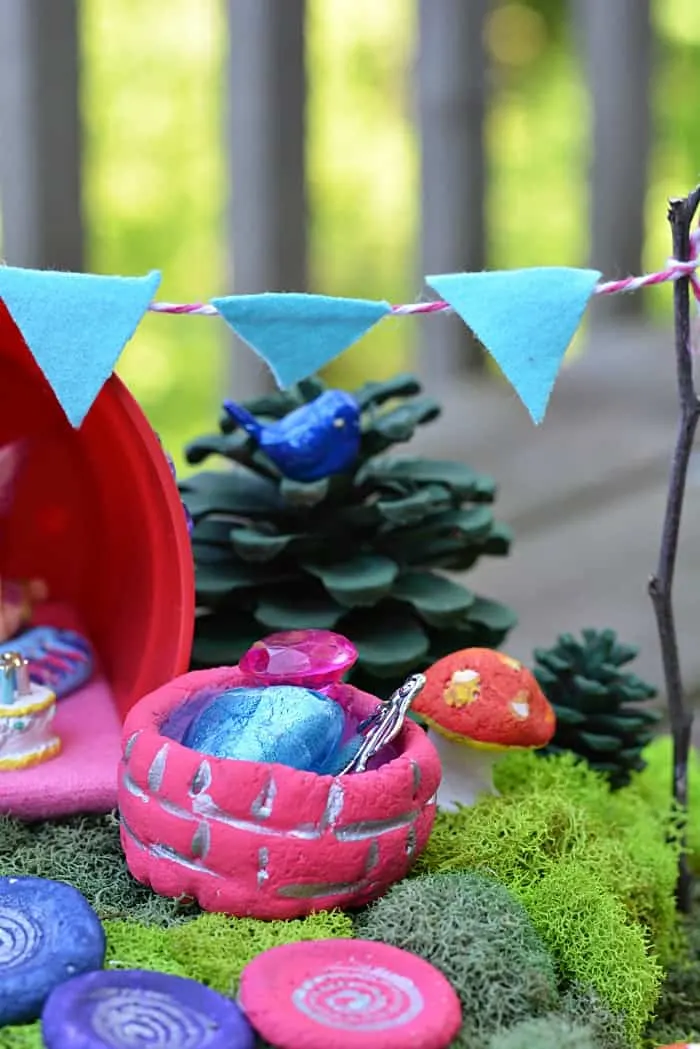
FAIRY TRINKET BOX
Start with a large ball of dough. Stick your thumb in the center and begin to form and shape it into a large cup. Set on the baking sheet to flatten the bottom as you go.
I used a toothpick and pressed the side of the toothpick into the bowl shape to make it look like bricks.
Once all of your salt dough fairy garden accessories are dry, paint them with acrylic paint. There are no rules here, do what you like and set aside to dry.
Now onto the actual garden part of the project:
MATERIALS NEEDED
- 16″ Plastic Saucer (about 3″ tall)
- 6″ Plastic Red Pot
- 1 Can Great Stuff Spray Foam – I used exactly one can, so if you want it bigger or want more than one, buy more
- EnviroTex Pour-On Resin (Michaels)
- 2 craft sticks and 2 disposable cups to mix
- Fairies – from a local boutique
- Bird on bird bath (originally had a wire stem I cut off)
- Frog, Bunny, Butterfly, birthday cake (from a boutique)
- Felt or leftover material
- Baker’s Twine
- 2 packages Moss – two different colors.
- E6000 Adhesive
- Plastic Flower Gems (Dollar Tree) for around small pot
- Supplies
- Hot Glue – lots
- Large Bread Knife
- Acrylic Paint – basically every color 🙂
- Paint Brush
- Sticks
- 2 pinecones
- Glass Accent Beads in Blue
- Cordless Drill or Dremel
- Grinding Wheels or Dremel Attachments
DIRECTIONS
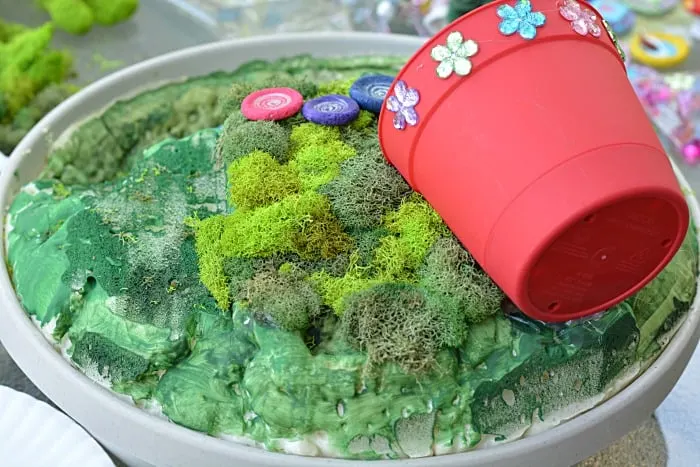
BEGIN WITH THE BASE
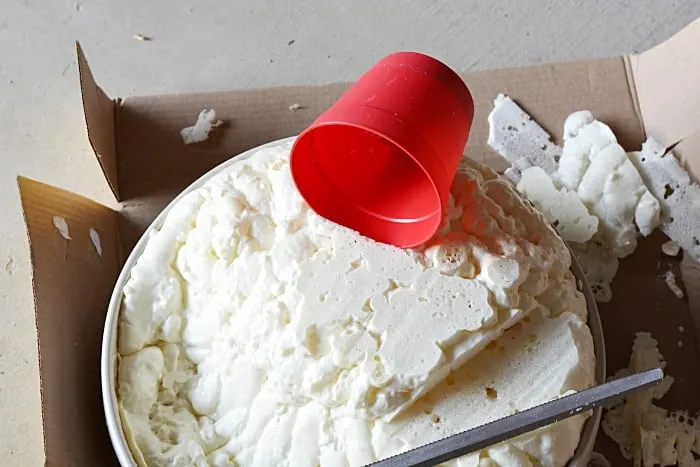
Carefully reading the directions on the can, (use in a well-ventilated area, protected surface, rubber gloves) fill the large 16″ plastic saucer with the entire can of spray foam.
As you spray the foam will begin to enlarge. I used the entire can.

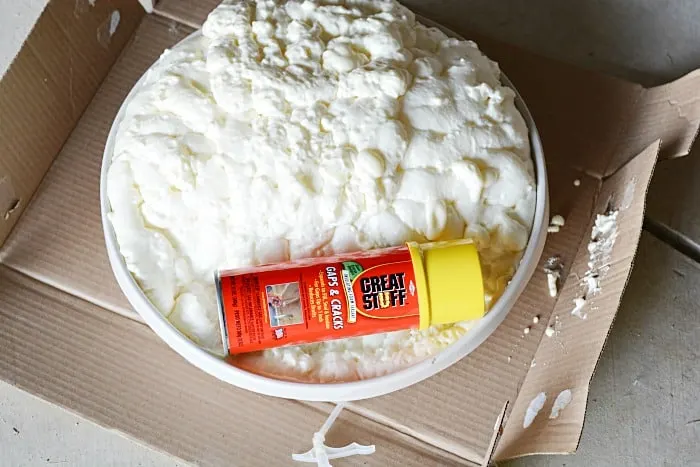
Let sit for about 20 minutes. You can watch as the foam continues to expand. When it’s hard to the touch, press down on one side and the other side should bubble up.
You’re moving the air from one side to the next, to create a larger hill and a valley for the water.
I set the empty can in the saucer to keep it flat and weigh it down. Let set to fully cure for 24 hours.
SHAPE THE LANDSCAPE
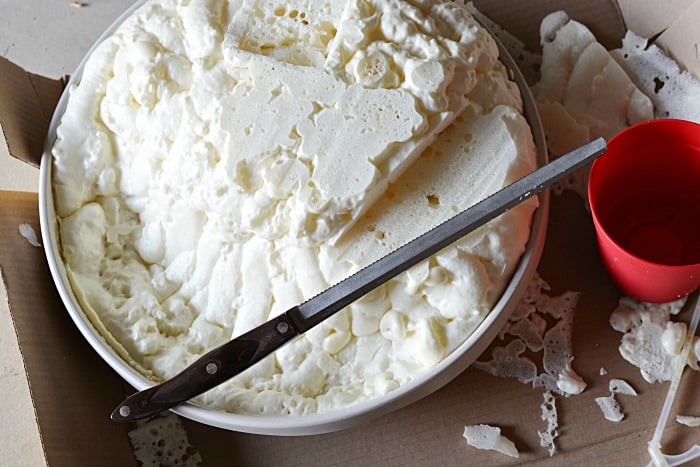
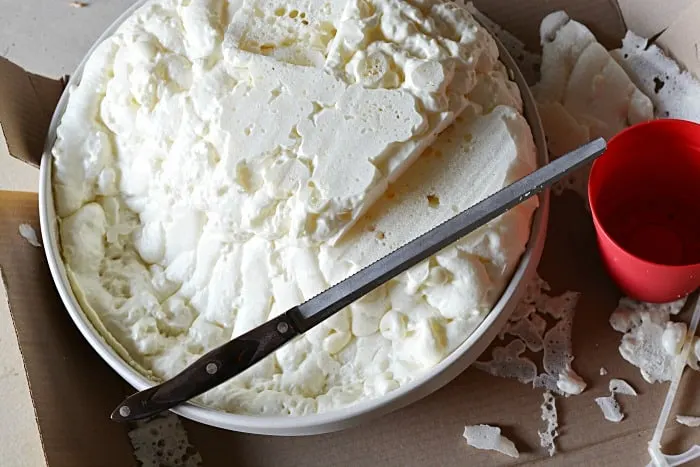
Using a sharp serrated knife, such as a bread knife, begin to shape your landscape. I knew I wanted flat surfaces, so I removed the rounded areas and shaved off the hard foam using a sawing motion with the knife.
I also removed foam so the red pot “house” could lay on the landscape. This will be attached later with glue.

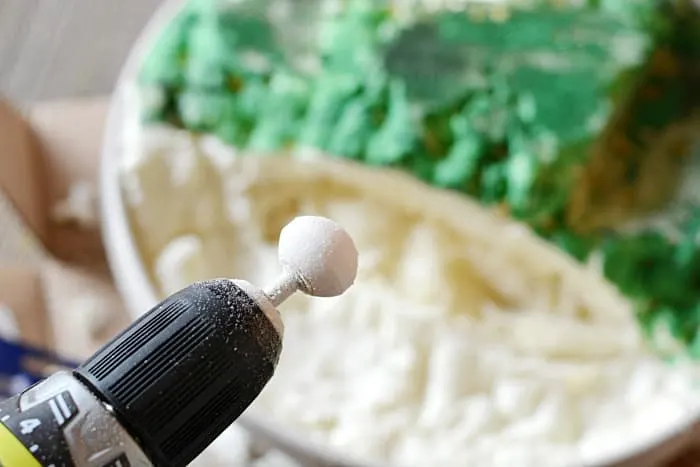
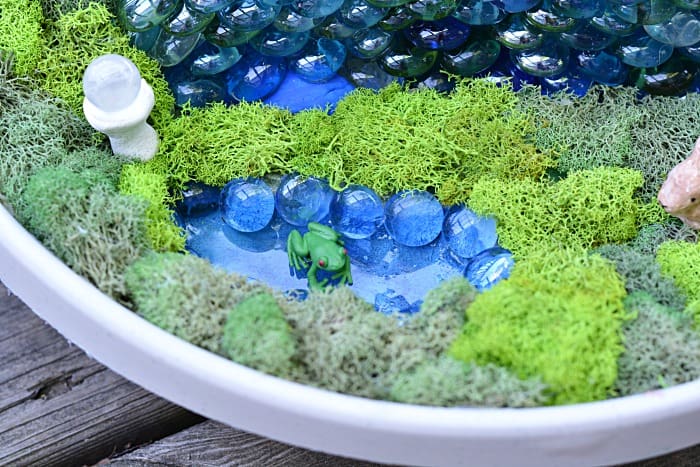
Use some grinding wheels and a cordless drill or Dremel and attachments to create a bowl in your foam for the water. You can see I did this after I painted the landscape.
I suggest doing all of your shaving and grinding and carving at once because it’s a little messy.

Dust off your project and begin to paint it! I used a few different green shades of acrylic paint and just mixed them together and gave the majority of the landscape a quick green coat.
At this time, since you have the green paint out, paint your pine cone trees. Set aside to dry.

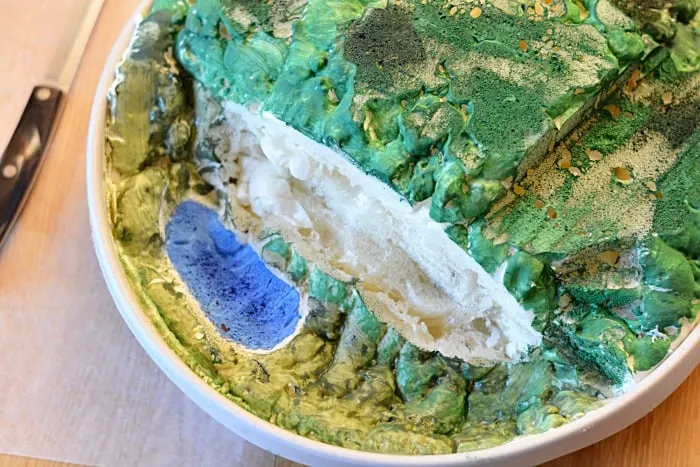
Paint the water section blue with blue acrylic paint. Let dry completely
Use the resin according to the package directions to make the blue water. I also used a little bit of this resin in the bird bath.
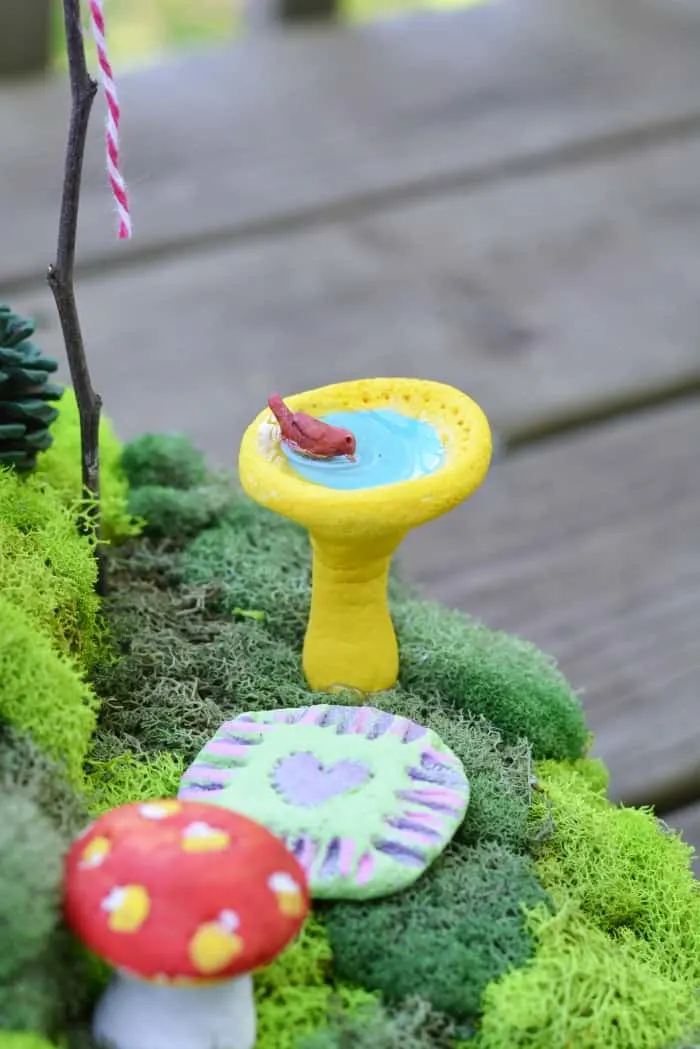
First I painted the birdbath yellow and blue and then let dry completely.
I poured resin into the bowl, let set up and then attached the stem with the E6000 adhesive.
I added the bird to the bird bath while the resin was damp, and you can see it didn’t work too well. The bird fell in when I left it to dry overnight! Next time, I’d just affix later with E6000 adhesive after it is completely set up.

Note: Depending on the size of your water, you will not need an 8 ounce supply of this mixture. The smaller packages should work fine.
MAKE YOUR BANNER
Use two twigs, felt and baker’s twine to make a small triangle banner for your fairy garden.
Cut small triangles out of felt. Lay them flat on the table. Place your baker’s twine on top of the felt triangles and affix with hot glue.
Tie your strings onto your sticks.

COMPLETE YOUR GARDEN
Fire up your hot glue gun and get your sticks ready – lots of them.
First I glued on the house (red pot) and after I did that, it needed a bottom form. So I cut a piece of cardboard and slide it into the pot. I then covered it with some fleece and hot glued it to the cardboard. That’s the bottom of the house, and I glued that onto the bottom of the pot.

Affix moss to the entire landscape with hot glue. There’s no right or wrong way, but you will need two bags to cover something this size.


Use hot glue to create a rock wall. Stack and glue and fill in any blank spaces with moss. You can also add these glass pieces to your water if desired.
Once the moss was affixed, I added the salt dough fairy garden accessories – flower gems to the pot, stepping stones, mushrooms, pinecone trees and bird bath with hot glue.
Shove the twigs of your banner into the foam base. Add your fairies and other accessories and enjoy!
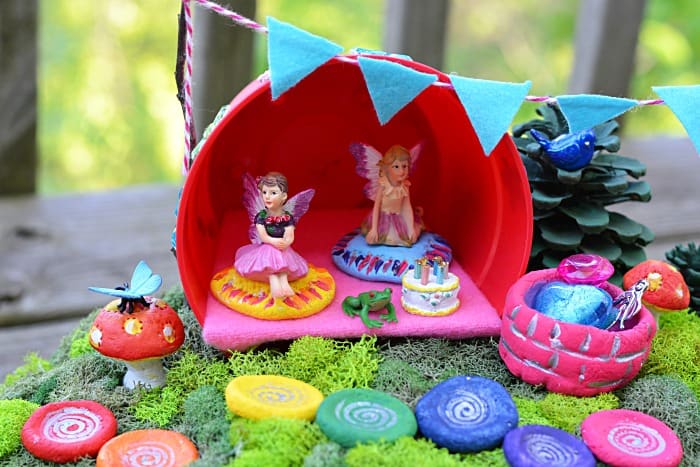

I absolutely adore the salt dough fairy garden accessories. They are affordable to make and the kids can help paint and decorate them.
Thanks, Kari for making this incredible fairy garden for Mommy Moment.


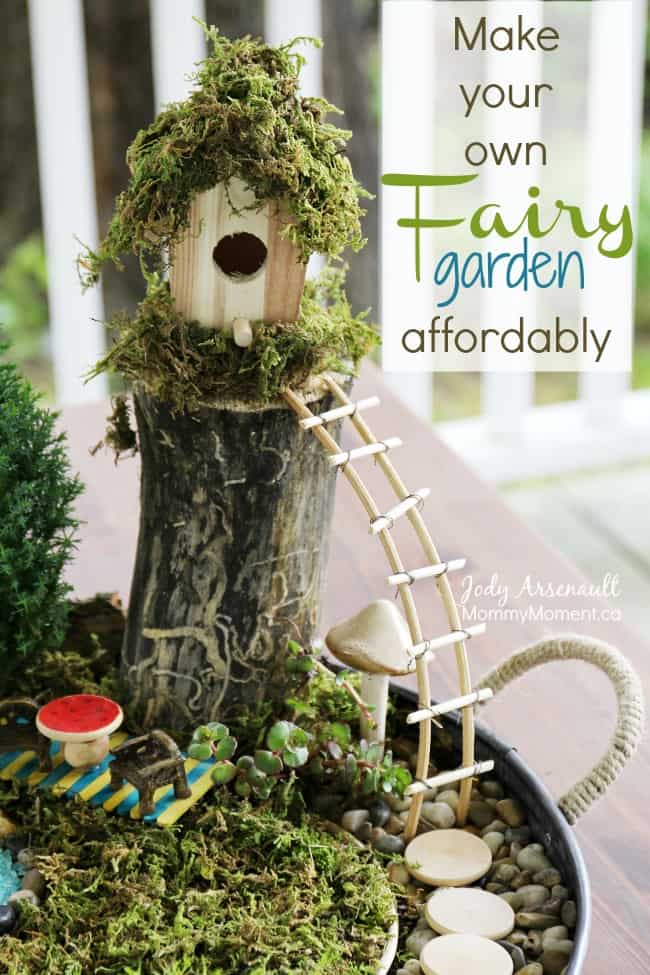
You may also like this traditional Fairy Garden idea:

You can sign-up to get an email update each day. You can also connect with us on:
JEAN M ROGERS
Monday 3rd of December 2018
Thank you for your post. I was looking for a way to make a dirt-free fairy garden base for my granddaughter. (Her mom doesn't want dirt in the house. I agree.) So thank you lots.
Ritu
Saturday 30th of July 2016
Such a great idea. How would the salt dough fare outside? I live in Vancouver, BC and it rains a lot here...if there was a sudden shower and I hadn't brought my garden inside, would the salt dough be ruined?
Jody @ Mommy Moment
Saturday 30th of July 2016
I would think it best to be kept in a covered spot like a porch - I do know there are options you can get at a paint supply store to coat the salt dough so it may hold up if it got a little wet.
Tricia Hope
Thursday 21st of July 2016
Thanks so much.I have been wanting to do this with my grand daughter for ages,but it can be so pricey.Great ideas to make things together that we can further bond over.Love it!
Lynda Cook
Tuesday 21st of June 2016
You did an amazing job, I don't think I would have enough patience for all of that, I'm to picky and I would get frustrated to easily. I would have to start very small, but I do love fairy gardens they're so pretty!!
Debbie W
Sunday 19th of June 2016
This is a great craft idea. The imagination can go wild with this idea.